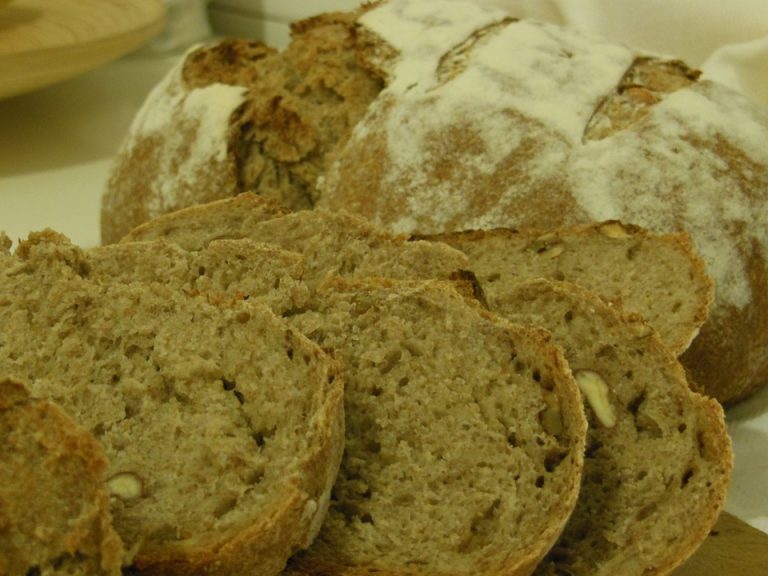
There’s nothing quite like the smell of freshly baked bread wafting through the house, bringing with it memories of childhood and comfort. Many of us have a special place in our hearts for Grandma’s homemade bread, with its crispy crust and soft, fluffy interior that melts in your mouth. Recreating this beloved recipe may seem like a daunting task, but with a little time and effort, you can bring that irresistible goodness back into your own kitchen.
The key to Grandma’s homemade bread lies in the simple, quality ingredients she used. Flour, water, yeast, salt, and a touch of sugar were all she needed to create a loaf that rivaled any bakery bread. Start by gathering these basic ingredients and make sure they are fresh and of high quality. Grandma would never compromise on the ingredients, and neither should you.
Next, it’s time to roll up your sleeves and get your hands dirty. Kneading the dough is a crucial step in bread-making, as it develops the gluten in the flour, giving the bread its structure and chewiness. Grandma’s secret was to knead the dough until it was smooth and elastic, which usually took about 10-15 minutes of vigorous kneading. Don’t be afraid to get a little messy – embrace the sticky, stretchy dough and work it until it’s just right.
Once the dough is kneaded to perfection, it’s time to let it rise. Grandma would always cover the dough with a clean towel and let it sit in a warm, draft-free spot until it doubled in size. This could take anywhere from 1-2 hours, depending on the temperature of your kitchen. Be patient and resist the urge to rush this step – allowing the dough to rise slowly and fully will result in a lighter, fluffier loaf of bread.
After the dough has risen, it’s time to shape it into a loaf and let it rise again. Grandma would carefully tuck and shape the dough into a smooth, round loaf before placing it in a greased pan to rise a second time. This final rise helps to give the bread its airy texture and allows the flavors to develop fully. Once the dough has doubled in size again, it’s ready to be baked.
Preheat your oven and place the loaf in to bake, allowing the scent of freshly baked bread to fill your kitchen. Grandma always knew when the bread was done by tapping the bottom – if it sounded hollow, it was ready to come out of the oven. Let the bread cool slightly before slicing into it and savoring that first, warm bite.
Recreating Grandma’s irresistible homemade bread may take time and patience, but the end result is well worth the effort. There’s something truly special about the aroma and taste of freshly baked bread, especially when it reminds you of the love and care that went into its making. So roll up your sleeves, dust off your mixing bowls, and get ready to recreate a nostalgic favorite that will surely become a new tradition in your own kitchen.